...
| HTML |
|---|
<a id="Configure the SMDR output"></a> |
Configuring TIM Plus
These instructions help you configure your MS Teams to send data to TIM Plus.
Add a new data source
Connecting TIM Plus to your Microsoft Teams account is very similar to the way you connect to any other PBX or communications service:-
- Go to the Directory tab, click on Sites and select Add
Select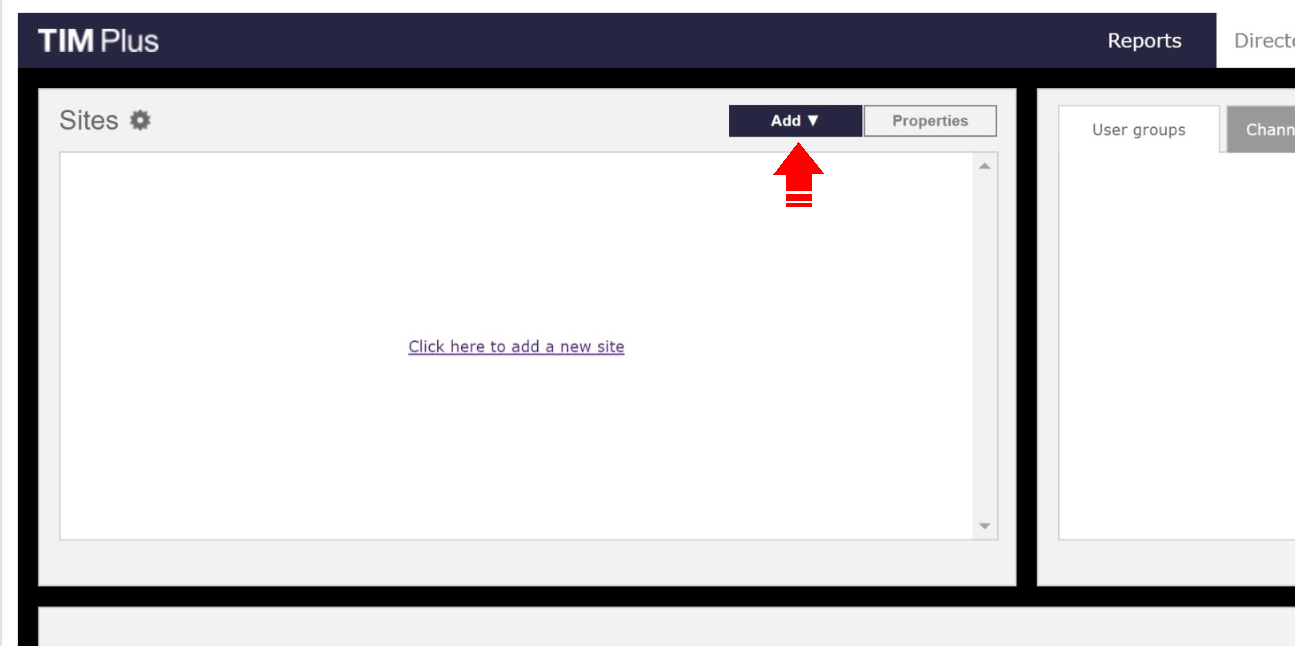
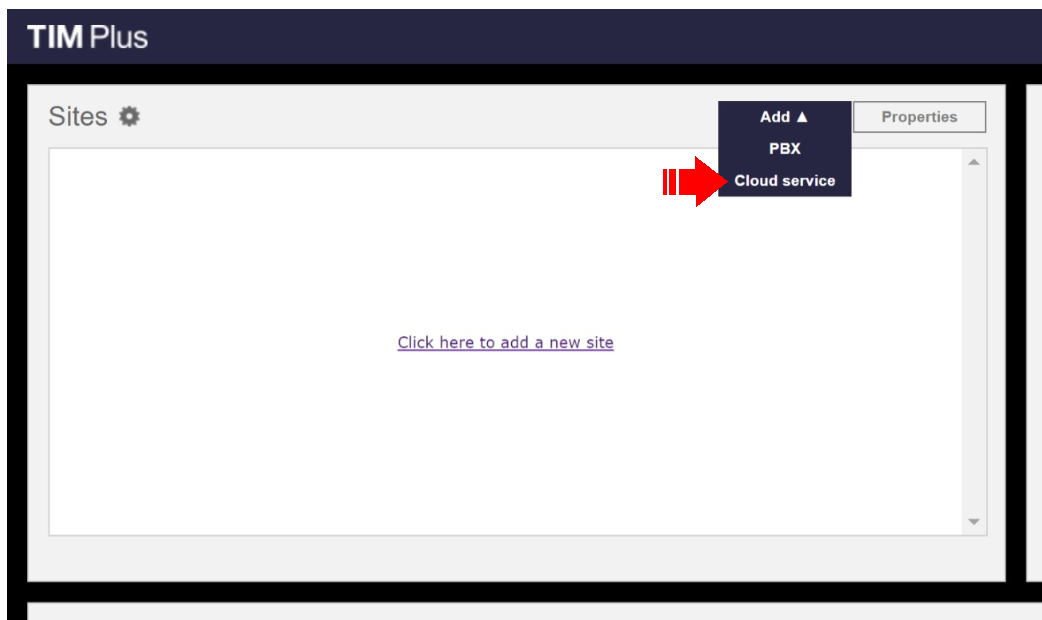
2. Select Cloud service from from the dropdown list.
| HTML |
|---|
<a id="Set up a DSN connection"></a> |
Configure the new data source
Click on the newly-added data source object in the directory list, then choose Properties from the pop-up menu in order to configure the data source:-
...
| Buttonmacro | ||
|---|---|---|
|
...
Double-click on the icon to open the ODBC Data Source Administrator window
| Info |
|---|
For a 64 bit system, access the ODBC Data Source Administrator from the following location C:\Windows\SysWOW64\odbcad32.exe |
...
An example of an ODBC entry is shown below:
| Screenshotmacro | ||||||
|---|---|---|---|---|---|---|
|
| HTML |
|---|
<a id="Configure TIM Plus"></a> |
Configuring TIM Plus
Once the DSN connection has been set up, log in to TIM Plus and perform the steps below:
- Click on the tab.
- Choose the site you want to configure and click .
Screenshotmacro Border false URL http://docs.tri-line.com/download/attachments/16712081/Lync_1.png - In the Site Properties window, select Skype for Business from the PBX model drop-down list.
- In the Connection method field, select Connect to a system DSN from the drop-down list.
- In the DSN name field, select lync from the drop-down list.
- In the Frequency field, enter 5.
- In the DB script field, select Skype for Business from the drop-down list.
- Click on the button to apply the settings.
3. Select Microsoft Teams as the cloud service for connection and press the Next button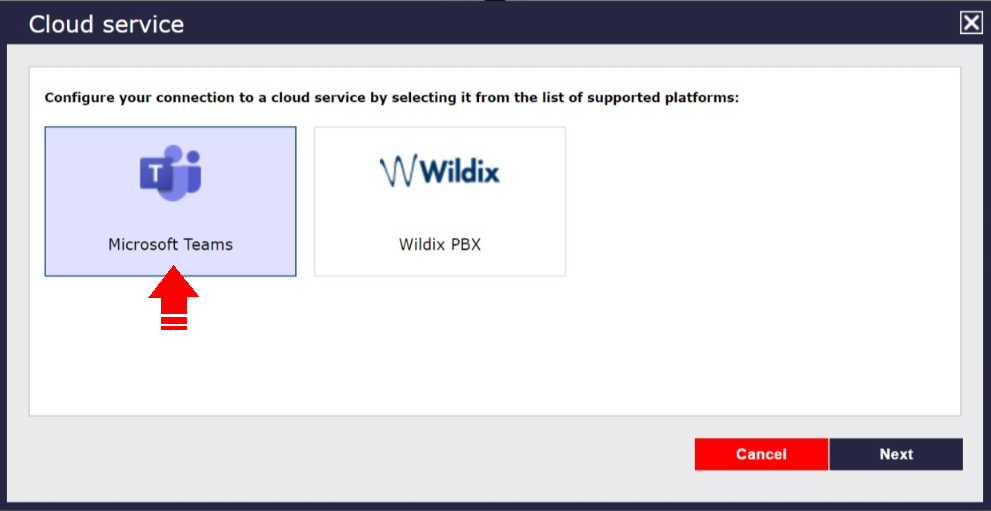
4. You will need to sign in to Microsoft to authorise TIM Plus to receive data from your Microsoft account.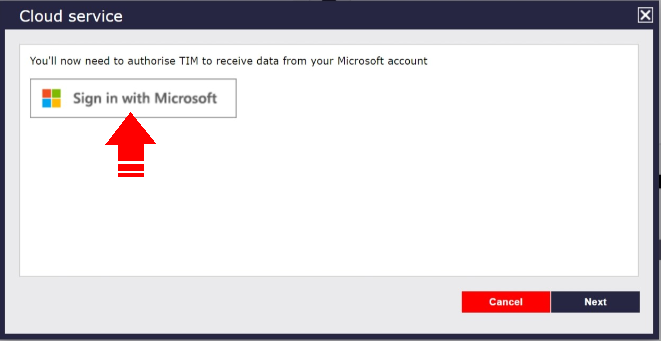
5. We will ask you to accept the following permissions so that we can collect your call data.
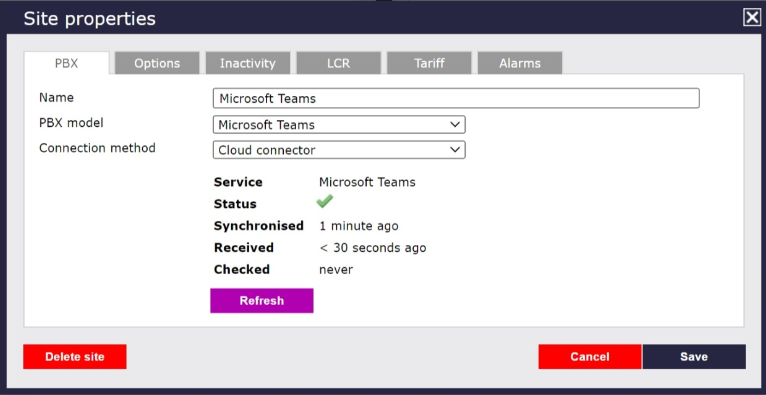
6. Once TIM is authorised to receive data from Microsoft, MS Teams call data will be received in TIM. You will be able to tell that the service is active, when it was last synchronised and when call data was last received as shown below: