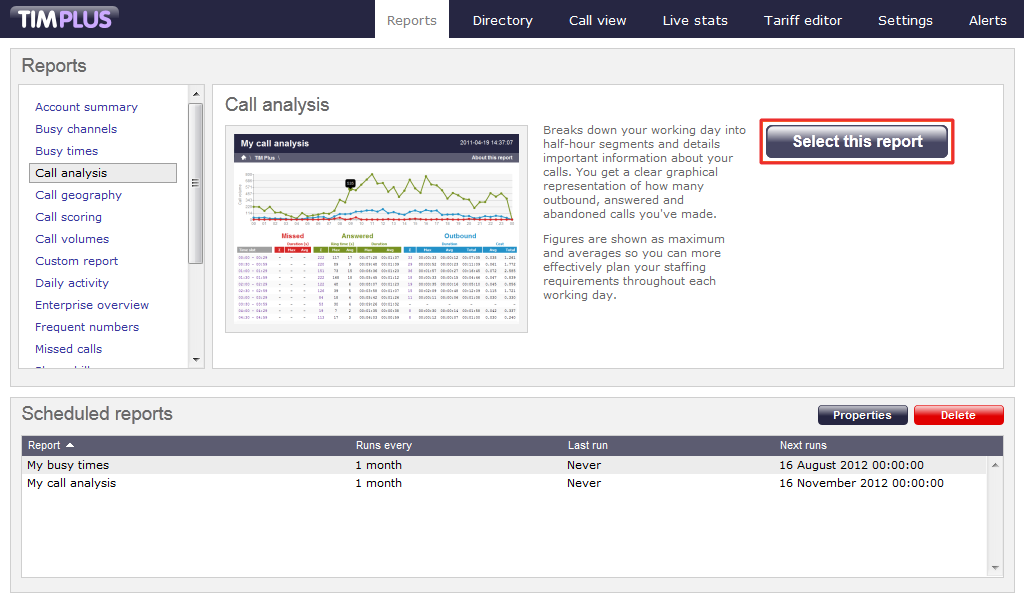
To schedule a report to run in the future, and to set it to recur at frequent intervals, choose the report you'd like to run and click on thebutton to start the report wizard, as shown below:
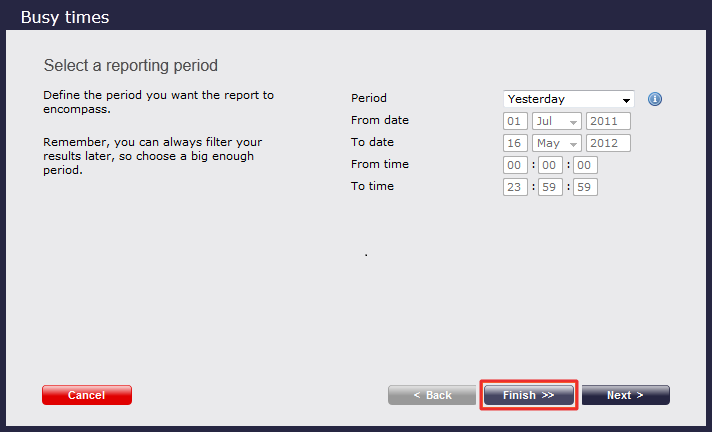
As with running a report on demand, you may need to select the report period, entity, filters, options and format before scheduling.
Please refer to the pages below, if you wish to set the report parameters:
- Setting the report period
- Setting the report entity
- Setting the report filters
- Setting the report options
- Setting the report formats
If you want to leave the default settings, just click on the button, at the bottom of the pop-up window, as shown below:
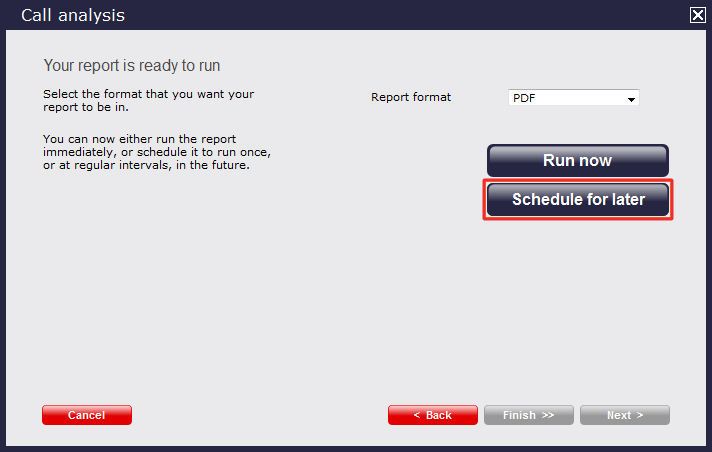
Select the format of the report and click on the button. Please note that for reports sent via e-mail, formats like PDF or Excel are more usable.
The new window that appears will allow you to determine the following:
- When you would like the report to start running
- How frequently the report runs
- How the report is delivered
- Who receives the report
The example below shows the scheduling parameters that can be set by the user.
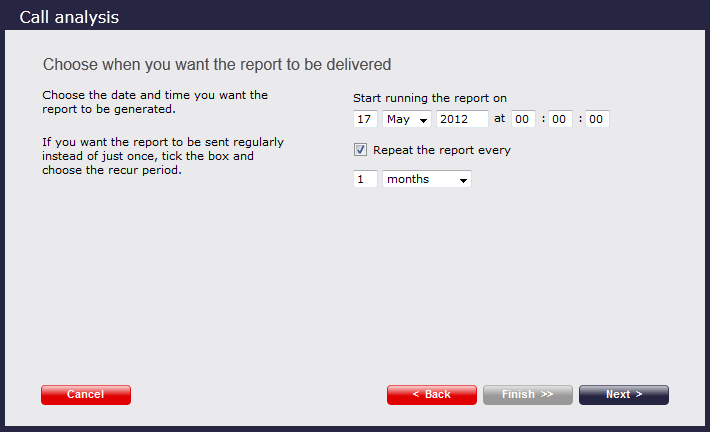
Setting the report scheduling parameters
When do you want the first report to run?
Enter the exact date and time you want the report to run in the boxes provided, as shown below:
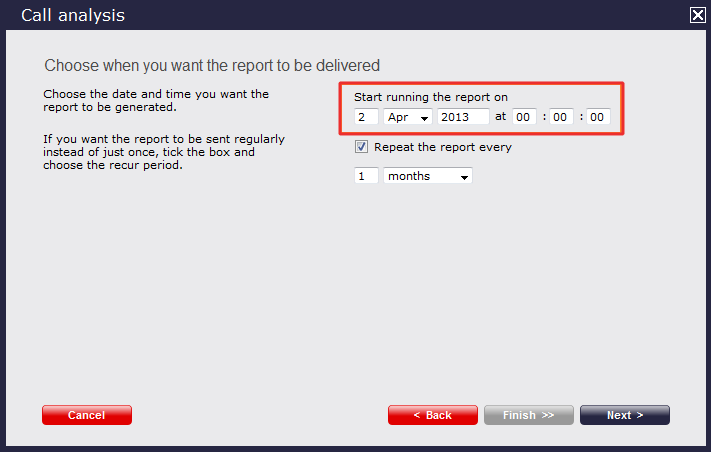
How often do you want the report to recur?
If you want the report to recur, tick the Repeat the report box and select the frequency from the drop-down list, as shown below:

How do you want the report delivered?
Choose the delivery method from the drop-down list:
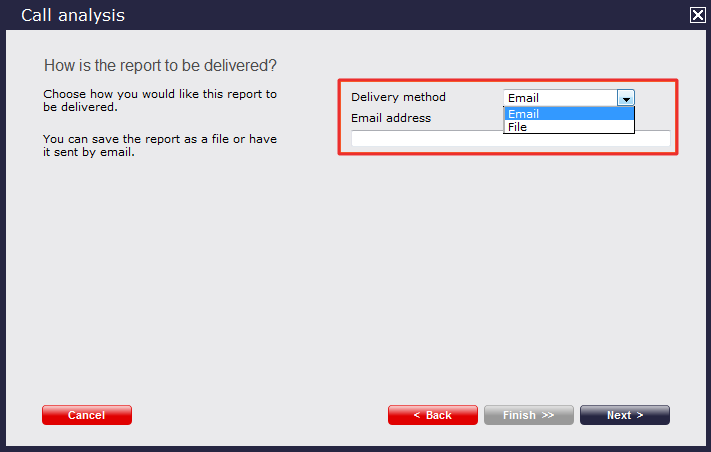
| Delivery method | Description |
|---|---|
| Enter the e-mail address in the E-mail address field. If you want to schedule delivery to more than one person, simply use a ; or , to separate each e-mail address. | |
| File | Type the location of the folder you want the report to be saved, followed by the report's name. For example, enter C:\My Reports\My Call Analysis.html. To save the report on a shared network drive, please check our Knowledgebase for instructions. |
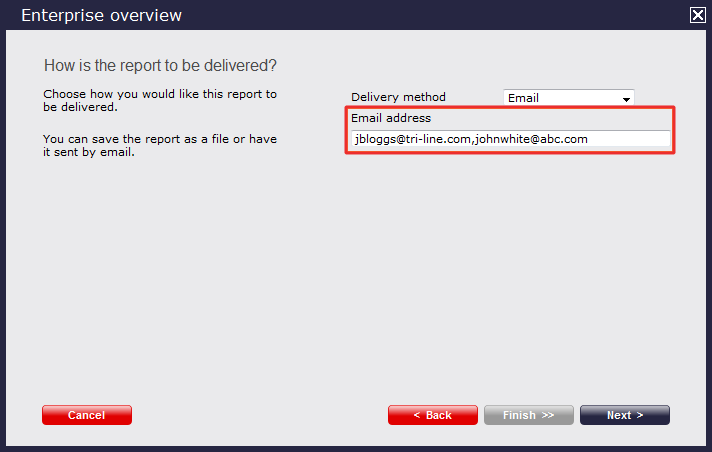
Who receives the report?
Enter the email address(es) or file location where you want to save the report in the field provided.
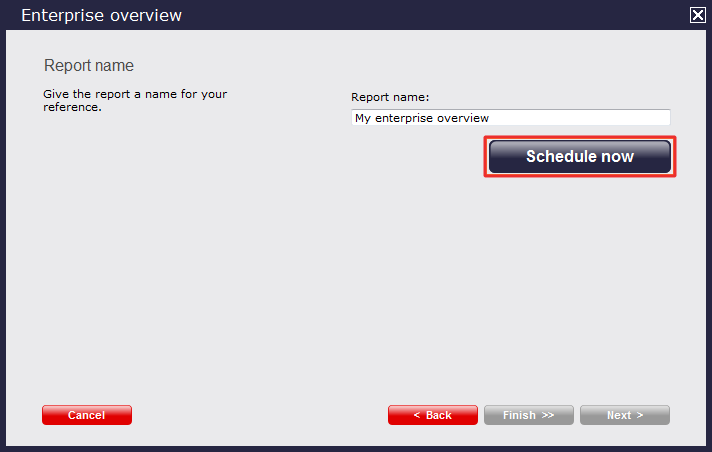
Schedule now
After entering all the scheduling parameters, click on the button to save the report's definition.
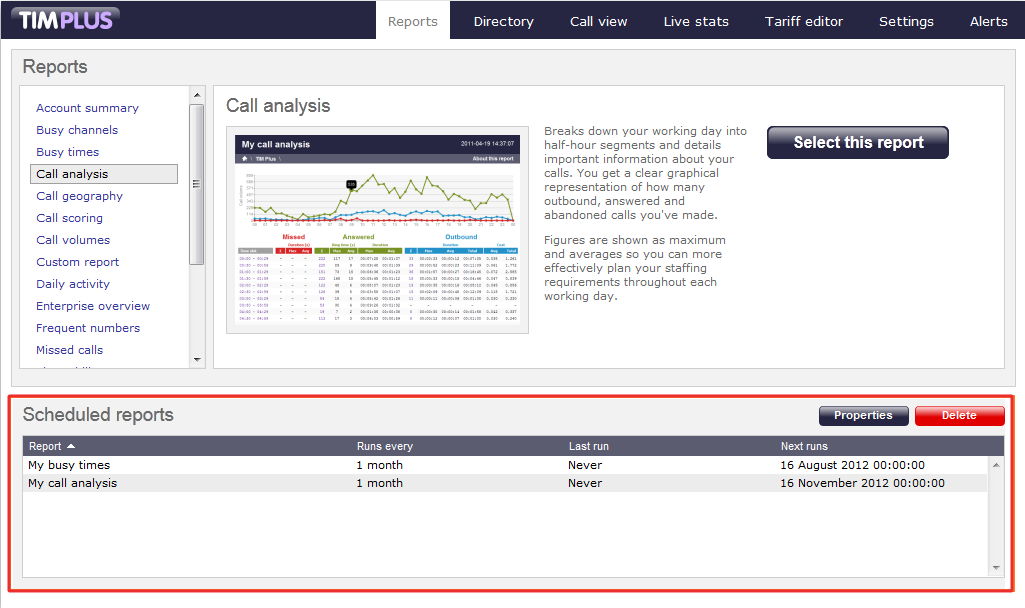
Notice that your newly scheduled reports are now listed in the Scheduled reports list, at the bottom of your screen as shown below:
To access, modify or delete any of the scheduled reports, please check the pages below.