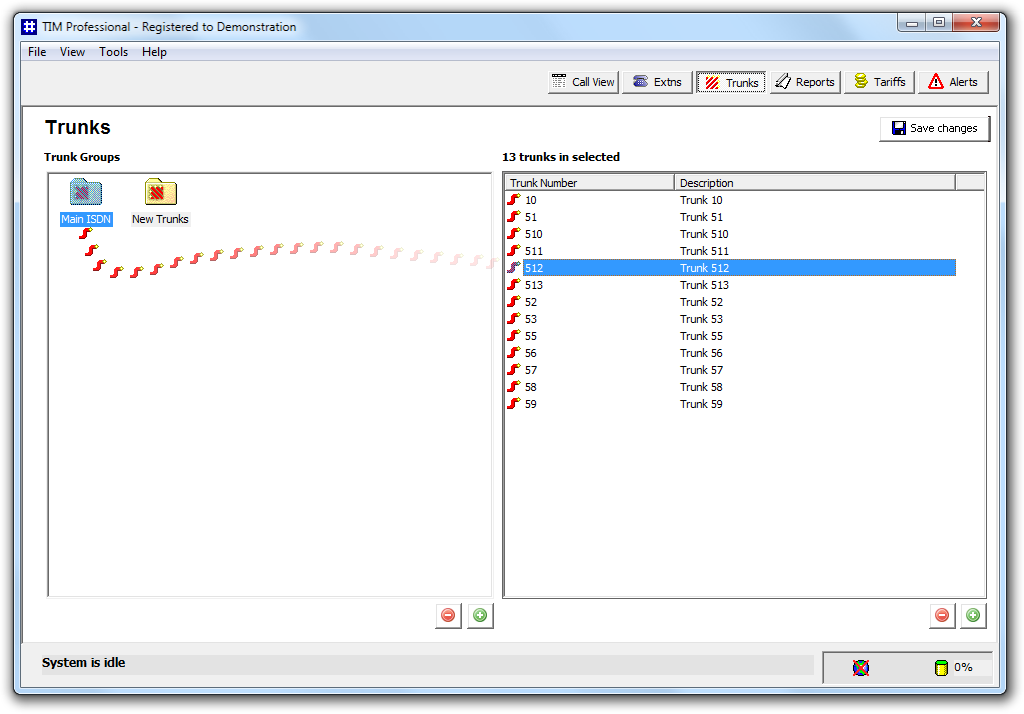
To move an trunk from one group to another, locate it the directory, click on it and and drag it across towards the Trunk Groups panel. Whilst still holding down your left mouse button, position the mouse pointer on top of the group you want to move the trunk into, until it is highlighted. Release the mouse button to drop the trunk into this group. The focus will remain with the group from which the trunk was moved, to assist you when moving more than one trunk.

To move another trunk, follow the same procedure. Click on the group you have moved the trunk into and this should be displayed in the Trunk Groups panel. Click on the button to apply the new configuration.
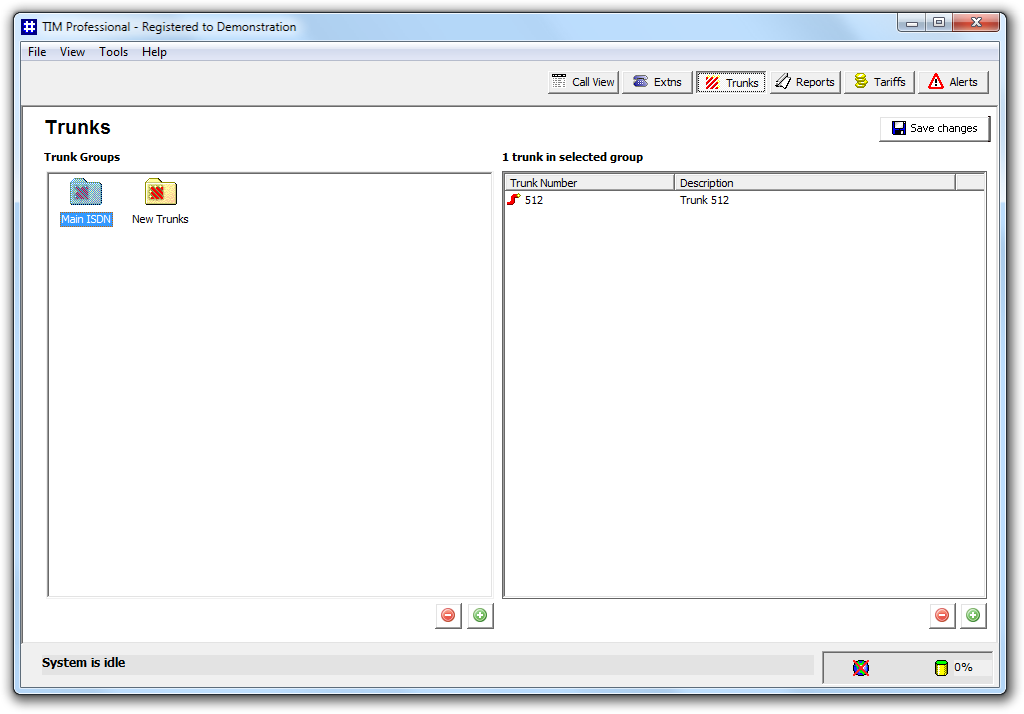
In the example below, trunk 512 was moved from the New Trunks group to the Main ISDN group.

Select the trunk you want to move, from the list of trunks in the right-hand window, in order to highlight it. Then, using your left mouse button, drag it across to the trunk group window on the left, and position it over the trunk group you'd like to move it into. When the destination trunk is highlighted, release your left mouse button and the extension will drop into this group.

You can verify that the trunk was moved successfully, by selecting the destination group in the left-hand window, and locating the trunk in question in the window on the right.
