These instructions help you configure your VoiSpeed PBX phone system to work with TIM Plus. Contact your system maintainer if you are not familiar with the configuration of your PBX.
Connection Type
Support Files
Required Tasks
Configuring your CDR output
The VoiSpeed phone system outputs its CDR data to a file. To configure the output, contact your system maintainer.
TIM Plus can be installed on the same machine as the VoiSpeed server; however, you should confirm this first with your system maintainer as it may impact system performance.
Installing NetPBX
Since your VoiSpeed phone system outputs its call logging data to a file, you first need to install the NetPBX software in order to collect the contents of the call logging file and forward it to TIM Plus. For setup instructions, click on the link below:
Configuring TIM Plus
Once NetPBX is configured and collecting data, log in to TIM Plus and perform the steps below:
- Click on the tab.
- Choose the site you want to configure and click.
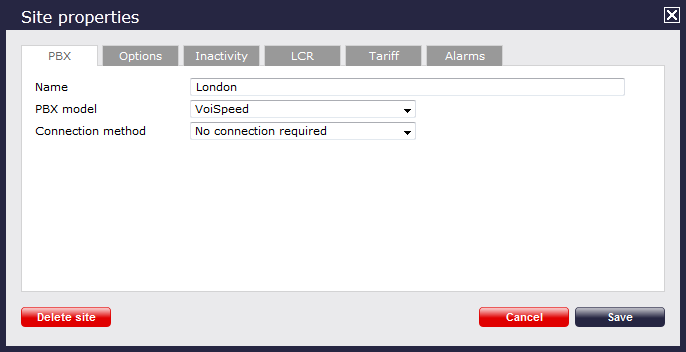
- In the Site Properties window, select VoiSpeed from the PBX model drop-down list.
- In the Connection method field, select No connection required from the drop-down list.
- Click on the button to apply the settings.