Users
Overview
A user is the entity object that represents each extension within your system. TIM Plus picks up these users automatically in the Discovered users folder as soon as they make or receive a call. However, you are also given the option to add users manually in the system and move them from one User group to another.
Finding a user
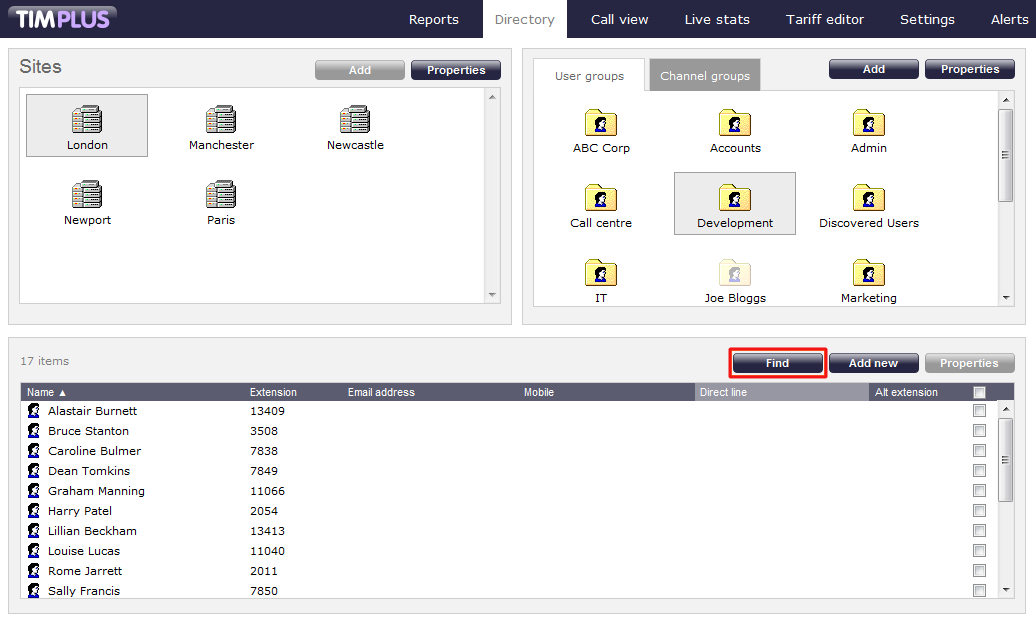
To search for a user within the system and see in which User group is located, select thetab and then y click on thebutton on the top-right corner of the Contents panel, as shown below:
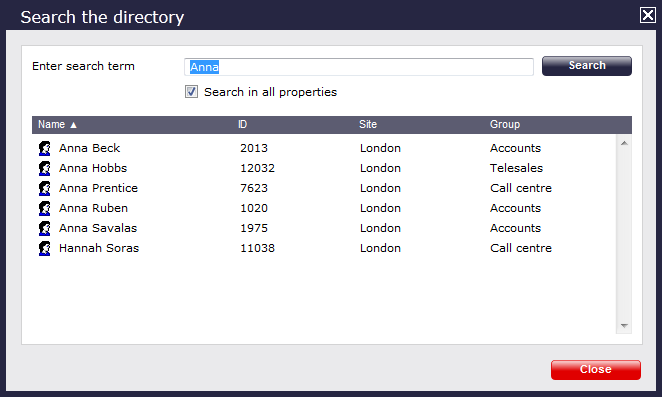
A new window will pop-up. Enter in the name or extension number of the user you are looking for and press thebutton. The search results will appear in the same window, as shown below:
Adding a user
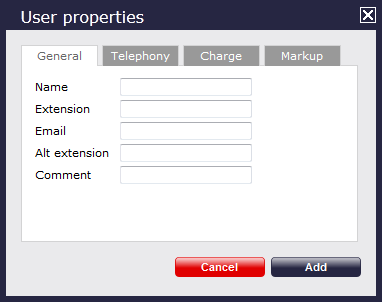
Before adding a new user in the system, search the Directory for the extension number you want to add to ensure the user doesn't exist already in the system and you are not creating any duplications. |
To add a new user in the system, click on thetab and select the site and the user group where you want to create the new user, then click on thebutton on the top-right corner of the Contents panel. The example below shows a user being added in the London Accounts group:

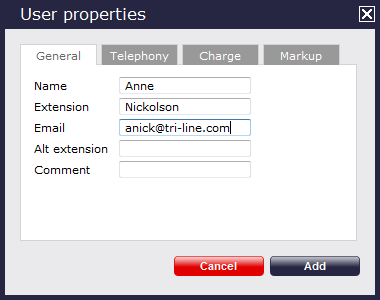
A new window will pop up allowing you to to add properties for this User:
The fields of this window are as follows:
| Field | Description |
|---|---|
| Name | Enter the name you want associated with the user in this field. If no name is entered, the default is the extension number. |
| Extension | Enter the main extension number you would like to associate with this User. |
| Add the e-mail address you would like to associate with this User. | |
| Alt extension | Enter any alternative extension numbers you would like to associate with this User. |
| Comment | This field is for free text. |
Once you have filled in the details for that user, click on thebutton, as shown below: