Channels
Overview
A channel is the entity object created in the system to embody each of your telephone lines. The channels will populate the Directory automatically as soon as they are being used, and by default, they are added into folder called Discovered channels.
Each individual channel object can be edited afterwards, moved into a different group and if required, you are also given the option to add channels within the system manually.
Finding a channel
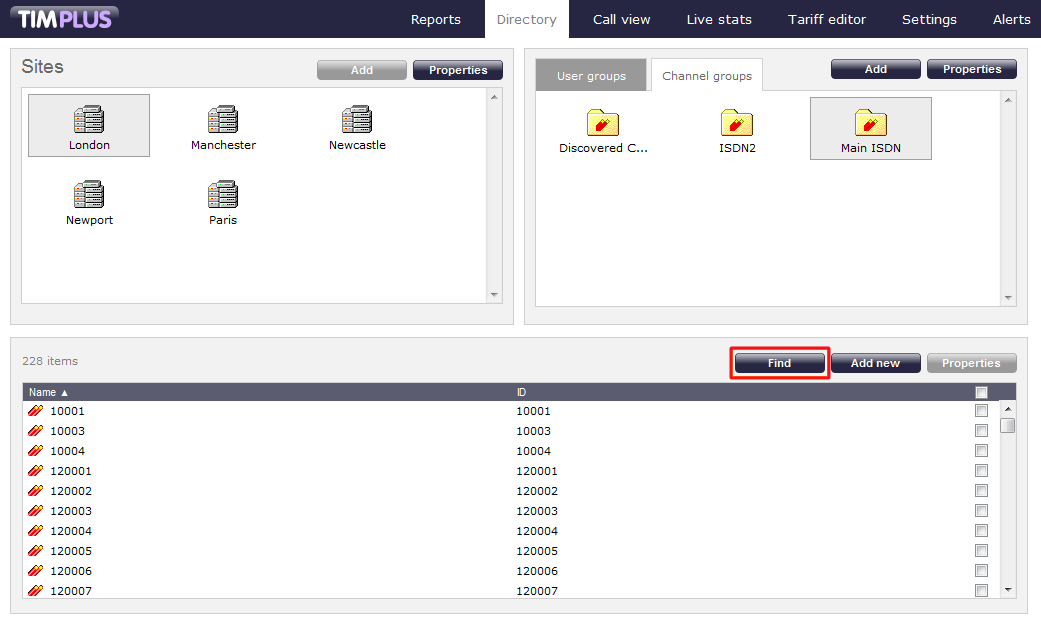
To search for a channel within the system and see in which folder it is located, select thetab and then click on thebutton on the top-right corner of the Contents panel, as shown below:
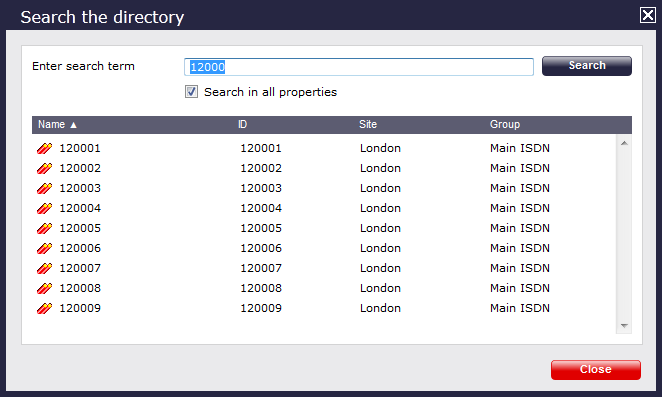
A new window will pop-up. Enter the name/number of the channel you are looking for, then press thebutton. The search results will appear in the same window, as shown below:
Adding a channel
Before adding a new channel in the system, search the Directory for the channel number you want to add, to ensure the channel doesn't exist already in the system and you are not creating any duplications. |
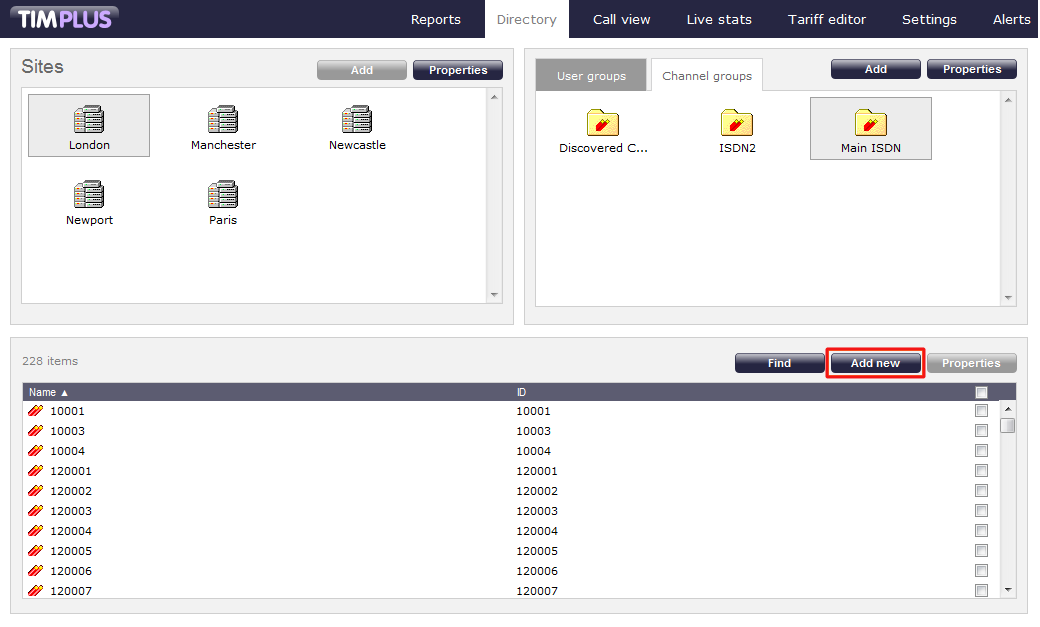
To add a new channel, click on thetab and select the site and the channel group where you want to create the new entity, then click on thebutton on the top-right corner of the Contents panel. The example below shows a new channel being added in the London Main ISD:
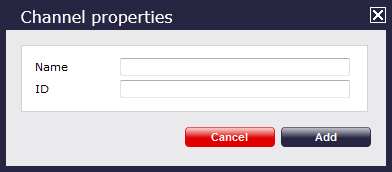
The following window will pop-up allowing you to add the properties for this Channel:
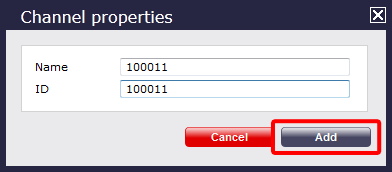
Fill in the required details, then press thebutton, as shown below:
Editing a channel's properties
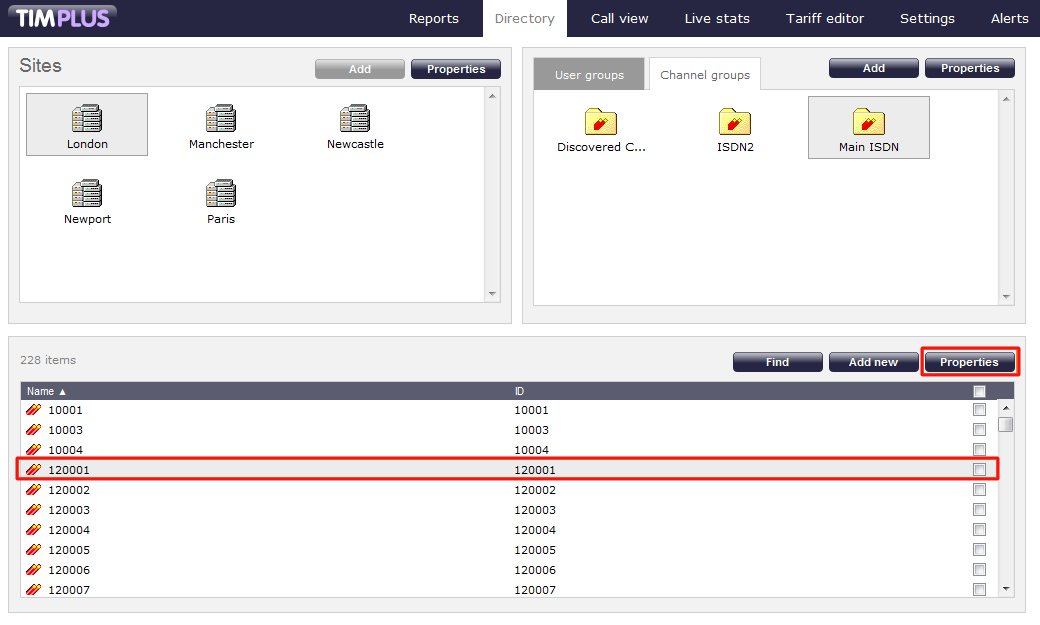
To edit a channel's properties, locate the entity in the Directory and click on it to select it. Once the channel is highlighted in gray as shown below, click on thebutton on the top-right corner of the Contents panel:
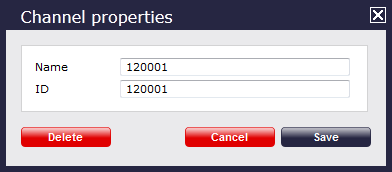
A new window will appear allowing you to edit the general properties for that channel. Overtype any details you would like to change, as shown here:
Moving a channel between two groups
If you need to move a channel from one group to another, follow the instructions below.
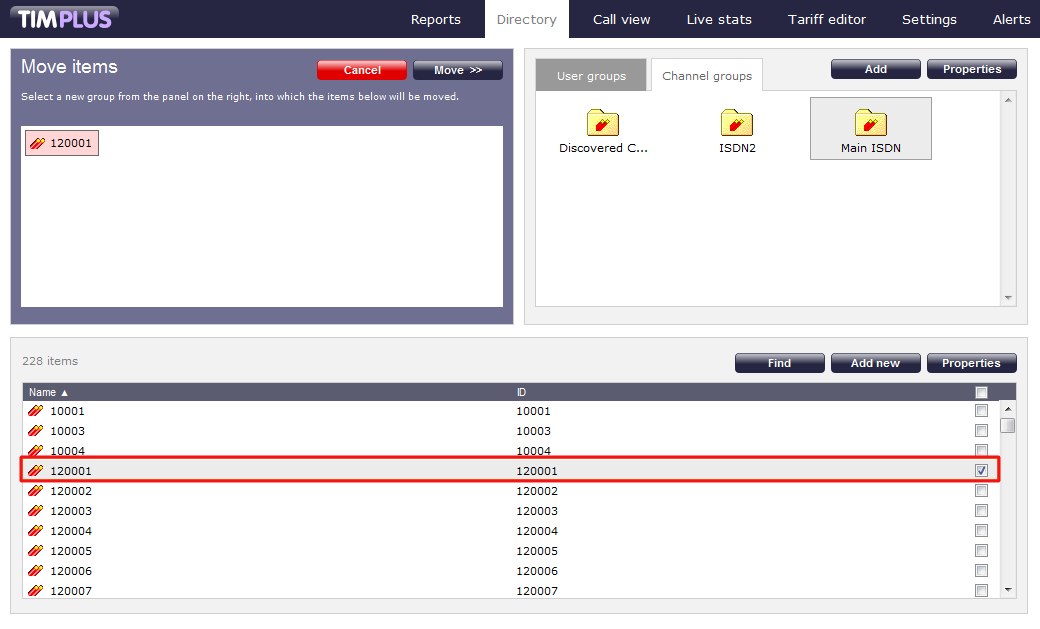
- Find the channel you would like to move over to the new group, and tick the box next to it. The top-left panel of the screen will change to the Move items panel and the channel(s) you've ticked will be copied here.
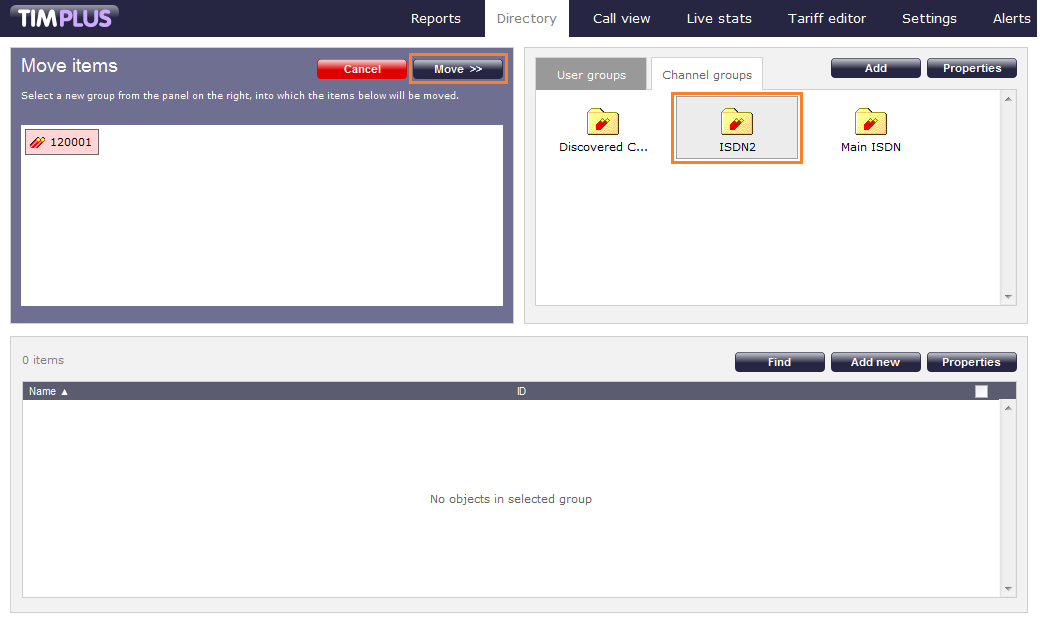
- Next, select the new group you want the channel(s) to be moved into, and click on thebutton.
Deleting a channel
To delete a channel, locate the entity in the Directory and click on it to select it. Once the channel is highlighted in gray as shown below, click on thebutton on the top-right corner of the Contents panel:

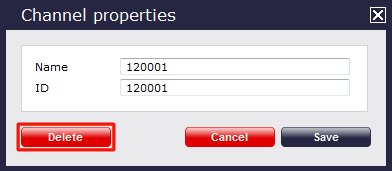
The Channel properties window will appear, where you can click on thebutton at the bottom-right corner of the window to remove the channel from the system. You will also be asked to confirm the deletion, in order to prevent this being deleted accidentally.
