These instructions help you configure your Cisco UCME / UC500 to work with TIM Enterprise. Contact your system maintainer if you are not familiar with the configuration of your PBX.
Connection Type
Support Files
Required Tasks
Configuring UCME to send RADIUS events
Use Telnet to connect to the IP address of your UCME as shown below:
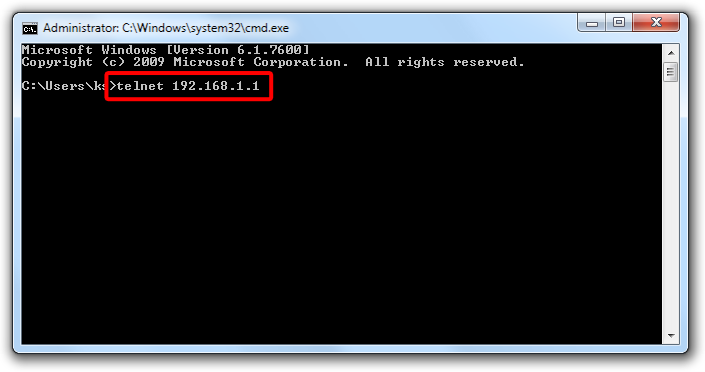
Once connected, enter the following commands to enable the UCME to send RADIUS events to TIM Enterprise:
| Step | IOS commands | Description |
|---|---|---|
| 1 | enable | Causes the UCME to enter EXEC mode. Type your EXEC password if requested |
| 2 | conf t | Enters the global configuration mode |
| 3 | aaa new-model | Enables aaa accounting mode |
| aaa accounting connection h323 start-stop group RADIUS | ||
| gw-accounting aaa | ||
| acct-template callhistory-detail | ||
| 4 | RADIUS-server host 192.168.0.1 auth-port 0 acct-port 1612 | Specifies the IP address and port of TIM Plus's RADIUS, to which CDR data will be sent, e.g. 192.168.0.1:1612 |
| 5 | RADIUS-server key C1sco | Specifies a RADIUS authentication secret that will be used by TIM Plus (configured in the next section), e.g. C1sco |
| 6 | RADIUS-server vsa send accounting | Enables VSA events |
| 7 | end | Exits configuration mode |
| 8 | wr | Saves the changes |
Configuring Cisco AXL sync
Follow the steps below to configure TIM Enterprise to perform directory synchronisation with your Cisco UCME:
- Click on the tab.
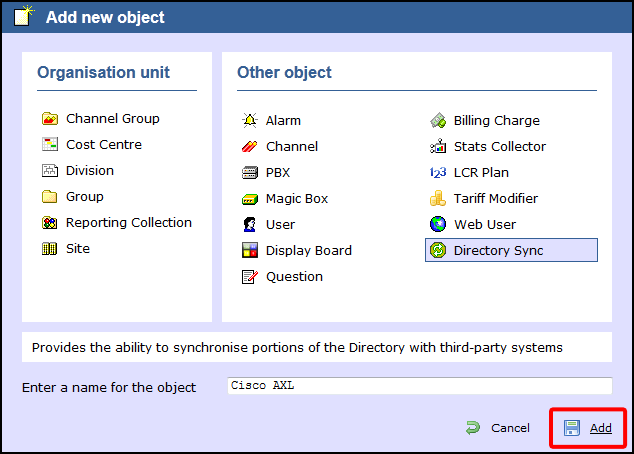
- Go to the Directory level where you want the synched files to be created and add a new Directory Sync object. Enter a name for the object and click on the button, as shown below:
- Left-click on the newly-created object and select .
- In the Directory type drop-down list, select Cisco UCME.
- In the Host name field, enter the IP address of your UCME.
- In the Host port field, enter the port number of the IOS service, e.g. 23 .
- In the Username field, enter the username of the IOS login that can perform synchronisation.
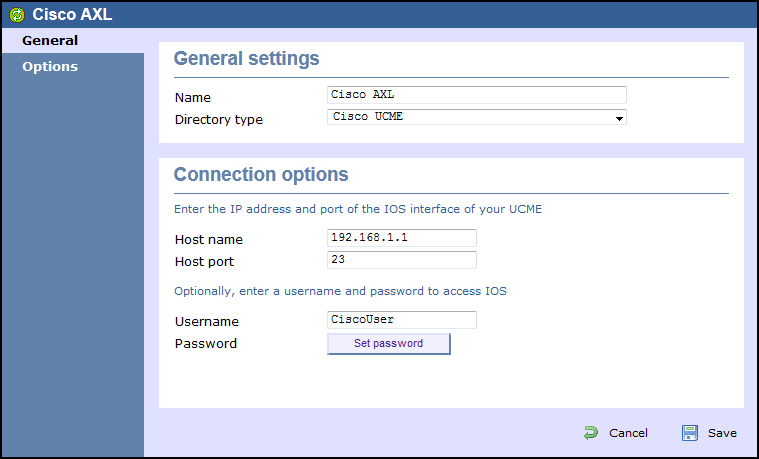
- Click on button and enter the password of the IOS login that can perform synchronisation.
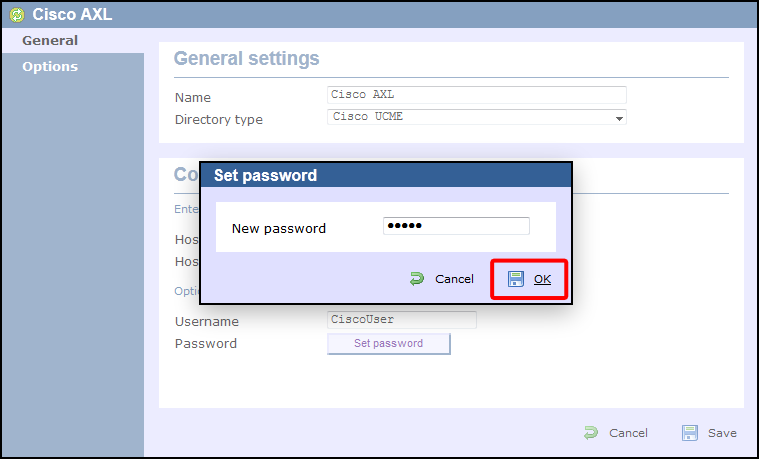
- Click on the button to apply the changes.
Labels: